
Bias Binding, also known as bias tape in some patterns, is a versatile sewing tool that has been popular for generations. Whether you’re a beginner or experienced sewist, bias binding can enhance your projects. I first used it in high school to edge an apron, and it’s been a staple in my sewing kit ever since. Don’t be intimidated by it! In the video below, I demonstrate how to attach bias binding step-by-step. Once you master this technique, you’ll love incorporating it into your sewing projects.

What is bias Binding?
Bias tape consists of fabric strips cut diagonally (on the bias) from corner to corner. This cutting method gives the tape flexibility and stretch, making it perfect for edging and binding curves. Packaged bias tape is available in various widths to suit different sewing projects. The width you choose depends on the specific application, whether it’s for quilting, finishing seams, or adding decorative edges. Understanding how to select the right width for your project will ensure a professional finish.
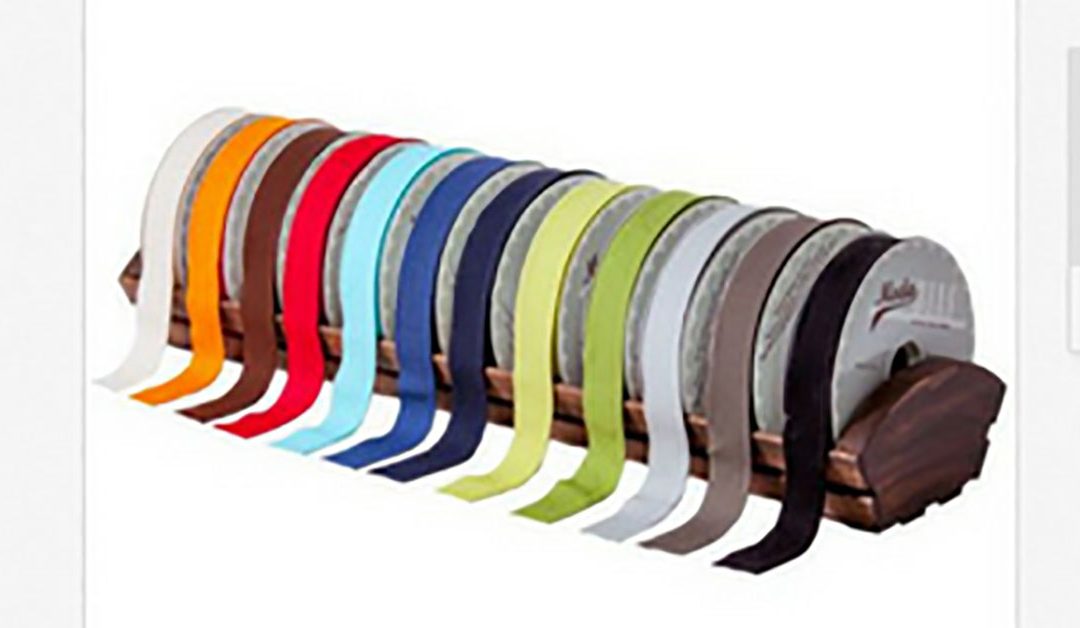
Bias binding is often sold in packets like the one shown here, typically containing about 5 meters of tape. It’s best to purchase this amount only if you’re certain you’ll use it all, particularly if it’s in a color you might not need frequently. Being selective about the quantity and color can help you avoid unnecessary waste and ensure you have the perfect binding for your sewing projects.

Binding comes in a vast array of colors, making it easy to match with almost any fabric you’re using. This extensive color range ensures a seamless blend with your projects. Additionally, bias tape is available in different widths to suit various purposes, from finishing edges to adding decorative touches. Selecting the right width and color can enhance the overall look and functionality of your sewing creations.

Decorative Bias Binding
Poly cotton bias binding is available by the meter, so you don’t have to commit to buying an entire packet. This flexibility allows you to purchase just the amount you need for your project. Additionally, satin bias binding can also be bought by the meter, perfect for edging or adding decorative touches. This option ensures you get the right amount and type of bias binding for your specific sewing needs.

How to make your own bias binding
This fantastic bias binding kit, available on eBay for about $15, is perfect for creating various widths of binding. The kit includes essential tools to help you thread the fabric and a binding foot for your sewing machine. While the binding foot can be handy, I personally find it easier to sew with a standard machine foot. This affordable kit is a valuable addition to your sewing supplies, enhancing your ability to create professional-looking binding.

Watch the Video below to learn how to make your own Bial Binding
Learn how to sew with Bias BInding in the Intermediate Online Sewing Course


This is a fantastic blog Christeen. I’ve shied away from using bias binding because I’ve never really understood the various types of bindings and their uses to confidently incorporate them into my sewing. Definately will be giving it a go now. Thanks Christeen.